As your business grows, you may need to create a complex but accurate points system for your potential customers, as well as the existing ones. In the CRM context, you need to know which leads have the highest potential of being converted(hot leads) and which leads still need to be qualified(cold leads). How do you do that? Without a proper system, building an accurate points system would prove to be a challenge. With Flexie CRM, you can build a workflow to help you with the points system. To illustrate how you can do that, let’s consider a concrete business scenario.
Let’s say you’re an e-commerce store. You have a website, you have a wide presence on social media, but you’re still struggling. People who purchase from you may come from your website, from your ads campaigns on social media, etc. Even if you know the source where they came from, how do you segment them? How can you track them throughout the whole sales journey? How do you automate everyday tasks? What if you want to know which customers bring the highest value to you? Flexie CRM gives answers to all these questions. To understand how you can adjust leads points based on dynamic conditions, let’s first build a workflow.
Go to Workflows and on the drop-down menu you’ll see, click Manage Workflows.

Next, go to the upper-right corner of the screen and click New.
![]()
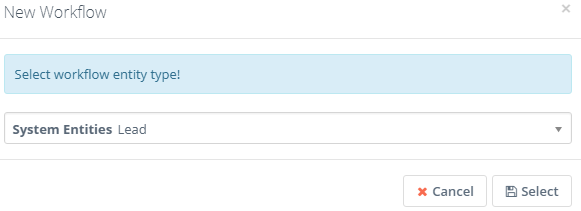
Select Lead as the the workflow entity type and then click Select.
Give the workflow a name and a description, choose a category (optional) and then click Launch Workflow builder.

Next, choose the workflow source. Let’s say you want to build adjust points of a specific group of leads. As a workflow source, choose Entity lists.
![]()
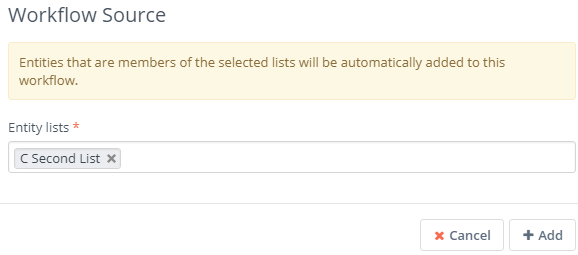
Choose the group(s) of leads you want this workflow to run on, and then click Add.
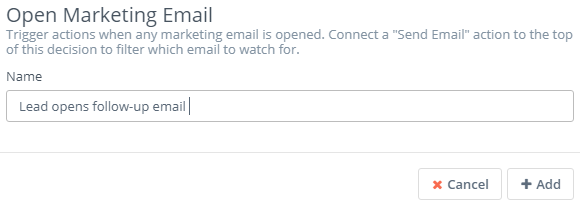
Let’s say you want the system to execute actions upon the lead opening a marketing email. Go to Watch For events and click Open Marketing Email.
![]()
Give it a name and then click Add.
You want to add 7 points to leads any time they open your marketing emails, but you want to add conditions. For example, the system will add 7 points to leads upon them opening a marketing email, only if they came from your website. Head over to Decisions and click Conditions.

You will be greeted with the following form:
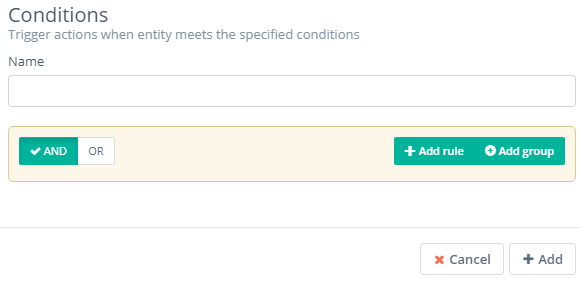
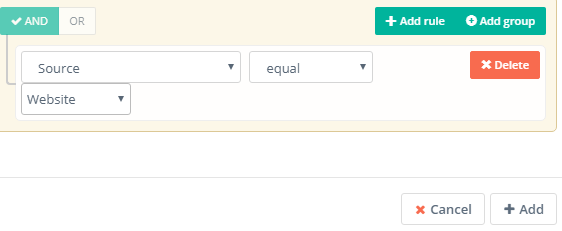
Give it a name and then click the Add rule button. Next, go to Leads Fields and choose Source. Next, go to the right and choose equals. Next, select Website. The condition reads like this: source equals Website. Go ahead and click Add.
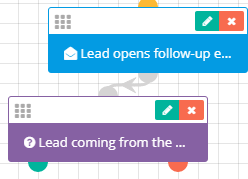
Connect the Conditions button with the Open Marketing Email event.
Now, you want the system to execute actions. Specifically, you want the CRM to add 7 points to each lead that opens your marketing email, only if they come from your e-commerce website. Go to Actions and click the Adjust lead points button.
![]()
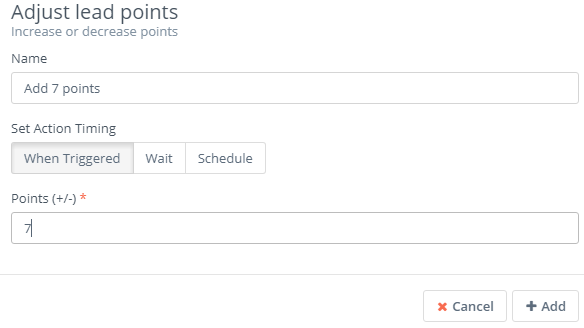
Give it a name, choose When Triggered and set 7 as the number of points to be added. Next, click the Add button.
Connect the Adjust leads button with the Conditions button.
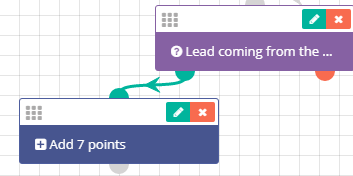
What if the leads come from another source? Say, a referral. You want to give more weight to your e-commerce website, and less to other sources. For example, if leads come from referrals, you want the system to add 3 points to them. Once again, go to Actions and click Adjust lead points.
![]()
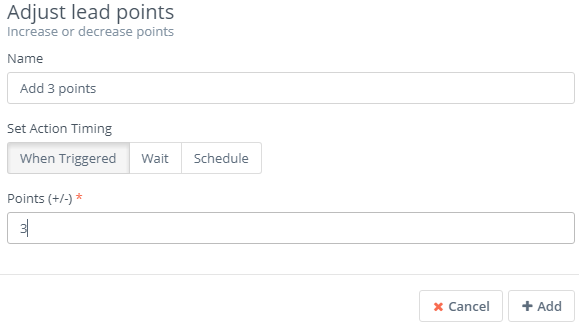
Give it a name, choose when Triggered and set 3 points. Next, click Add.
Once again, connect it with the Conditions button.
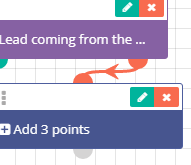
So far, the workflow will do this: when the selected lists of leads open your marketing email, they will be added 7 points if they come from your website, and 3 points if they come from other sources like a referrals, cold calls, meetings, etc.
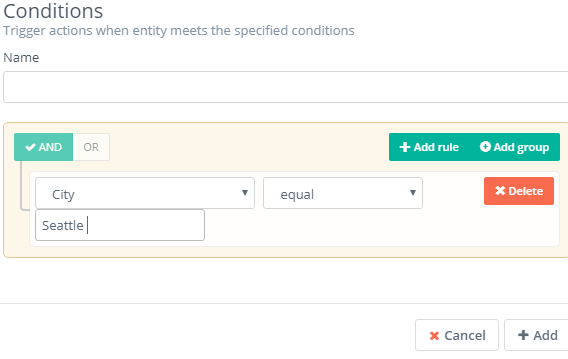
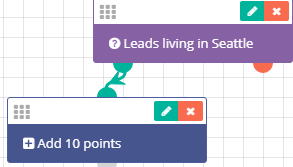
But what if you want to execute other actions? For example, any time the leads open a marketing email, and their city equals Seattle, you want the system to add 10 points to each of them. You want to capture and nurture more leads from Seattle. Also, you want to send a follow-up email to them. Once again, go to Conditions.

Give it a name, click Add rule and choose City, equal and Seattle respectively. Next, click Add.
You want to add points and send a follow-up email. First, go to Actions and click Adjust lead points.
![]()
Give it a name, choose When Triggered and set 10 points. Next, click the Add button.
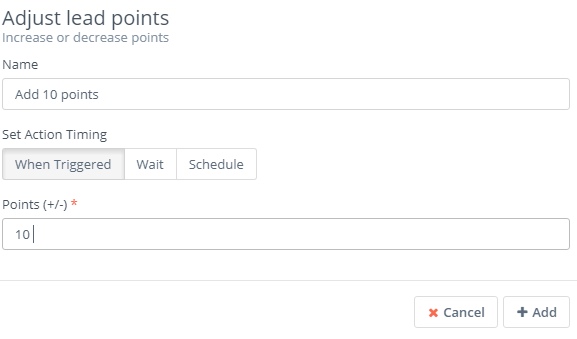
Connect it with the Condition we’ve just set, including only leads that reside in the city of Seattle.
You also want to send an automatic follow-up email to these leads, but you want to wait 1 day. Go to Actions and click Send email.
![]()
Give it a name, choose Wait and here you should set the number 1, and choose day(s) on the right. Choose the email you want to send, the email field and then click Add.
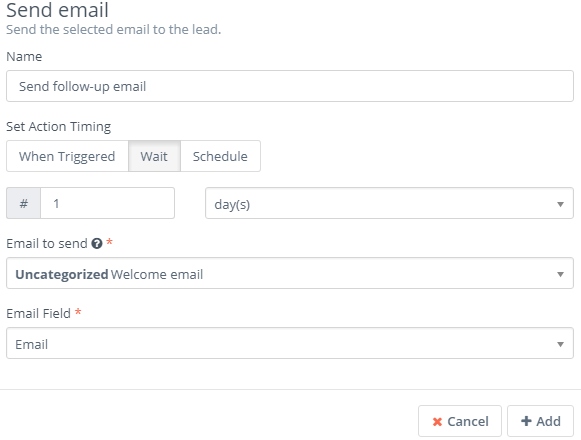
In this second scenario, leads which open your marketing email, and reside in Seattle, will be added 10 points and will receive a follow-up email(one day after they open your marketing email).
As you can see, adjusting lead points in Flexie CRM is simple and intuitive. You can build a more complex workflow, according to your needs and business philosophy. The points system helps you determine which leads have the highest priority and which have lower priority, so you can focus on highest value leads first.
To stay updated with the latest features, news and how-to articles and videos, please join our group on Facebook, Flexie CRM Academy.

