When you create a form a JavaScript snippet is auto-generated. This small snippet is what does all the magic. If you copy it and place it in your website where you want the form to show, it will instantly render the designed form.
Note: Whenever you generate a new form, a snippet script is generated too, so you can copy and paste that snippet in your site.
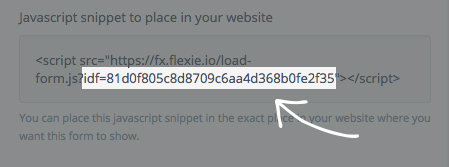
The above highlighted section represents the Form ID.
Copy and paste it to your site, or wherever you intent to use it. Pure JavaScript code can be used to elaborate the information and transform it the way you want.
Form Prefill feature
Form auto-fill is a very handy feature while working with forms to attain great user experience. Components, for example inputs, have a Query String option under the Data settings.
Parameter name can be used to auto-fill the input from URL Query String.
There are two ways how to auto-fill inputs in a form:
- Using the JavaScript method FlexiePrefillComponents \
window.FlexiePrefillComponents = { 'The Query String name of your parameter': 'Auto-fill value'}
- From URL Query String https://yourdomain.com/form-path/?queryStringValueOfInput=Your+Value
Get data from the form submit event in your front-end website, you can capture these data using javascript code:
window.addEventListener('FlexieFormOnSuccessResponse_{formID}', function(event) {
     var formSubmitData = event.detail;
         // The formSubmitData would return the form object
         // {
             // data: ...
             // metadata: ...
         // }
 });
The information we need that will also be submitted to the server is being hold on event.detail object.
You can tweak your form actions and transform objects by using pure JavaScript.